I have heard a TON of you say you want to get started on a dollhouse! You have told me about old ones you want to renovate or just the fact that you’d love to start one for yourself or a loved one, well now is your chance! This little cottage is the perfect way to start small with DIY miniatures this year! I am working with miniatures.com again and we want you to join the Creatin’ Contest! It is a super fabulous answer to your question of “how do I get started making a dollhouse?” I will lay out all the details here and show you the project I will be working on right beside you! This post is sponsored by HBS Minitures.com, all ideas and opinions are 100% my own, this post also contains affiliate links, if you make a purchase I may receive a small commission, your price stays the same. 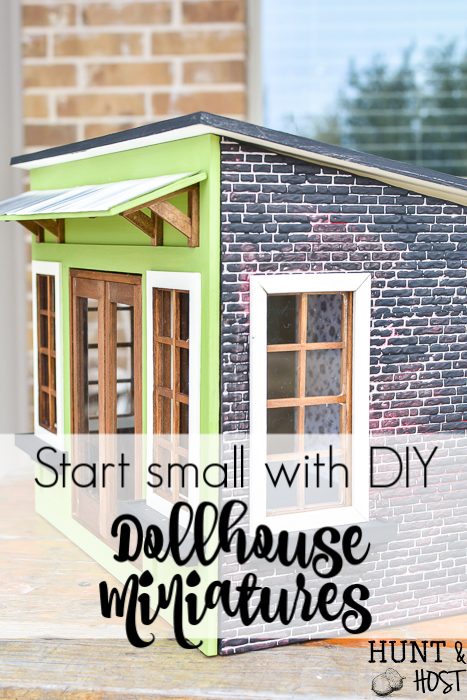
Every year Miniatures.com holds a Creatin’ Contest. Everyone uses the same structure as a base and then uses their imaginative ideas to bring the structure to life. You can do whatever type of scene you’d like. This is perfect if you want to give miniatures a test drive, it’s much smaller than committing to a full size dollhouse and with a contest deadline at the year’s end you have some accountability to hold you to it! The grand prize winner gets $1000 gift card to miniatures.com and a variety of other exciting prizes are handed out, plus a free thank you gift to all who enter. Here is a link to the rules and details, but I will tell you some as I show you what I’ll be creating…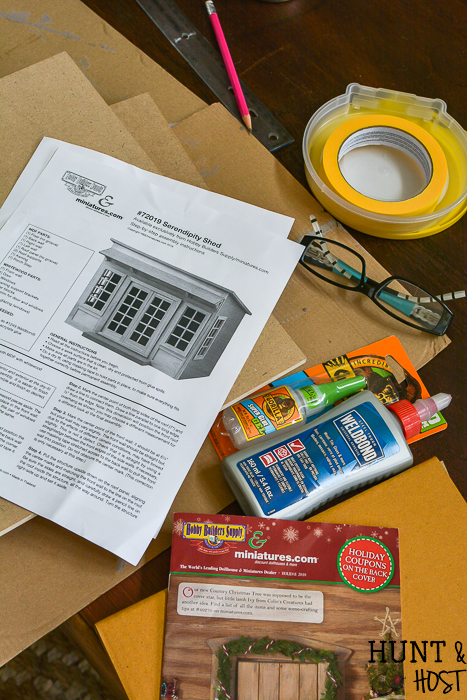
Start by ordering your Creatin’ Contest kit, which includes the dollhouse structure kit, entry to the contest and all the details. This year the contest centers around the Serendipity Shed. It has so much potential! Will you make yours a pastry shop? Maybe it’s time to get that She Shed you always wanted! Perhaps a breezy beach house or mountain retreat? Seriously – the ideas are unlimited! I’m turning my shed into a garden center.
My husband and I always talked about opening a place like this in conjunction with the landscape company we owned for years, but it never came to fruition. This will be a fun way to bring it to life in a miniature scale and share what it looked like in my mind all those years. I’m pacing myself through the year in order to have the shed complete by the entry deadline of December 16, 2019. I started by following the directions that came with the Serendipity Shed. The first step was to dry fit the shed together with tape, it was a great start to see how the house formed up and it let me make a concrete plan for the design elements I wanted to add. 
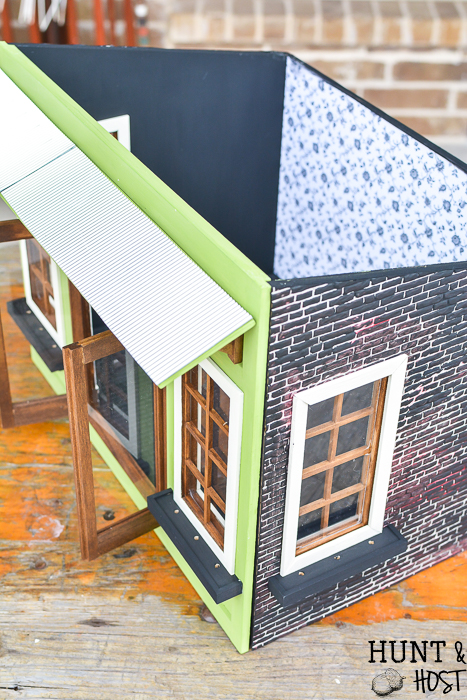
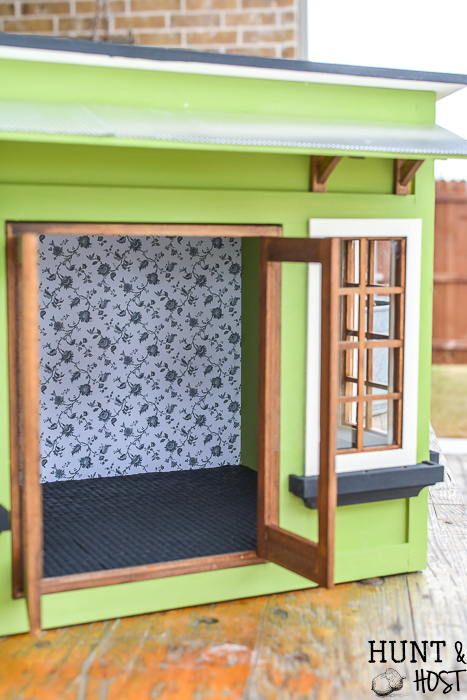
Once the house was dry fit I measured and planned a material list for the finishes on the walls, ceiling, floor, etc. and ordered them from miniatures.com. I decided this shed would resemble and old storefront that had been updated over the years, painted brick siding with painted brick floor, rustic tin overhang, gorgeous floral wallpaper (on the ceiling too!) and bold colors with a craftsman like feel. (I’ve included a supply list for reference below.)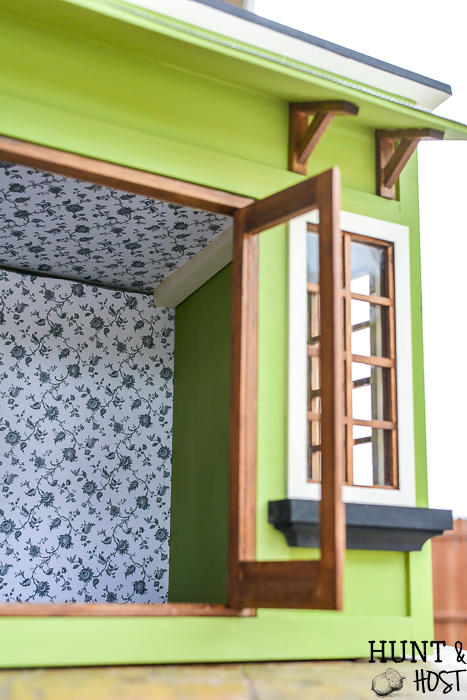
I took apart the shed and painted the pieces, hung the wallpaper and bricked the sides while it was apart. This was so much easier than trying to do it once the shed was glued together. Plus I got to catch up on some TV time with my daughter. 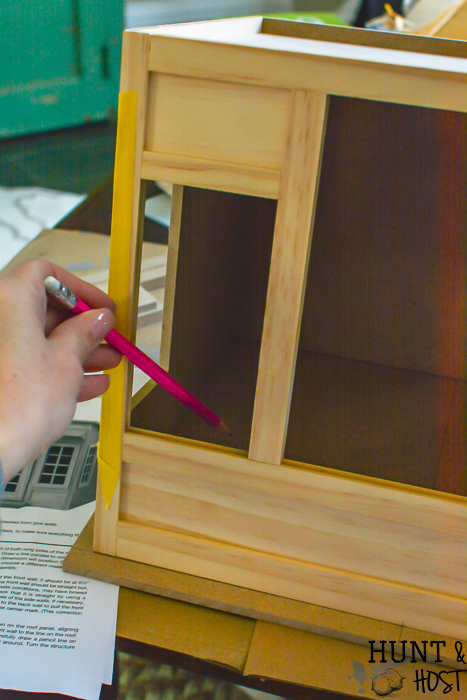 The roof is removable, so it is important to follow directions and mark off the roof properly for assembly.
For the brick sides, I dry brushed the vintage brick sheets with a traditional red color using a sponge brush. By dry brushing (using a small amount of paint and not saturating an area) I was able to leave the mortar joints grey like a real brick building would look. Next I dry brushed black over the red and allowed some to show through for a worn look that has aged and been added to over time.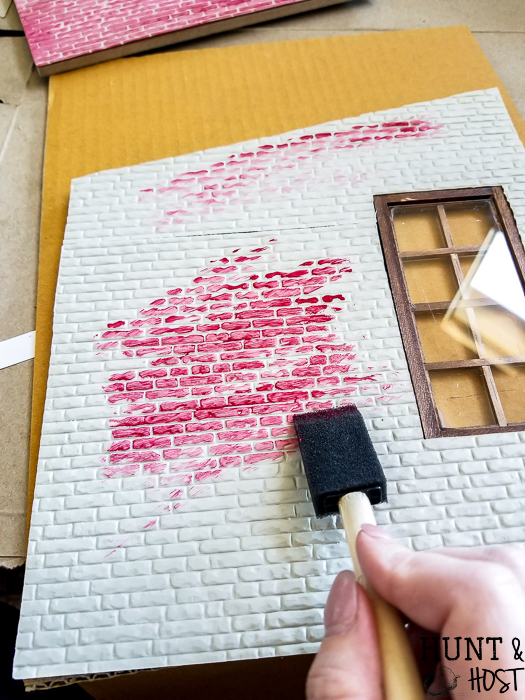
Cute little window boxes are a great addition, can’t wait to fill them up…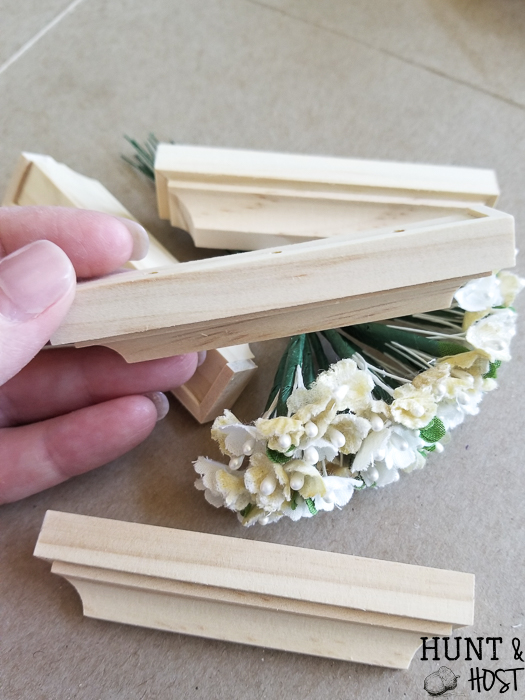 I can’t wait to start working on the outside landscaping and the “store” displays!!!
 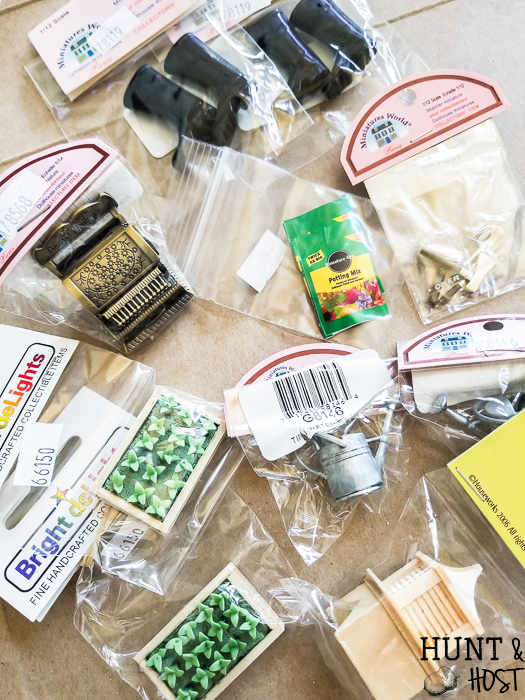 I’ll be sharing as I move along. I really hope you will joint the Creatin’ contest with me and share your progress though the year. Miniatures are such a great way to decorate and get creative, this project might be just what you need to get your hands moving on a crafty project! If you visit the Creatin’ Contest information page (link below in the supply list) you can see some past entries and winners, they are absolutely amazing, great inspiration! In case you missed my childhood dollhouse makeover, you can catch the renovation here. Below is my miniature project supply list for reference, these are the exact products I used…
Miniature Supplies Used So Far:
Mod Podge (to adhere wallpaper)
Paint: Carbon
Paint: Enchanted


That will be so cute! Love the fresh green color and the bricks remind me of some of the old buildings in Pittsburgh that have a sooty exterior from the steel mill days. I’m working on my second dollhouse renovation and finding the more I do it the more fun it is. Did you paint the outside of your childhood dollhouse? Don’t remember seeing it. Keep up the good work!
aren’t they so fun! I haven’t painted the outside of my dollhouse yet – I have been painting our real one lol! It is on my to do list and I will share when I do for sure!!!
Very clever, you are using your skills to make this mini beautiful!
Thanks – I have so much fun with these little guys!
I was looking for minature garden. I don’t know how to find it. Thank you for your help on this.
I am working on a miniature garden shed here, but it is a work in process, if you are looking for the fairy garden I did then you can see here
I really love how your project is coming out. It is the second of your projects that I see. I love miniatures and even though I’ve been collecting them for so long…. I just started building my first house last year. Where can I see more of your work?