Easy Pocket Pillow Tutorial
One of my decorating goals this year was to change out pillows each season. I see people doing this all the time and the impact it makes on a room is HUGE! Two things have held me back from jumping on the pillow change out bandwagon:
- It seems expensive
- Where do I store 500 pillows?
So here is the solution I came up with.
Pocket Pillows.
Why pocket pillows? What even is a pocket pillow?
Let me explain.
A pocket pillow is a pillow cover that goes on a pillow form easily, much like a pillow case. There are a few reasons this solves multiple issues for me. For starters they are easy to make at home. If I can sew one, anyone can, and the pocket pillow tutorial will be outlined below. Making them yourself is not only cost effective, but allows you the freedom of getting exactly what you want for each season or occasion. They can be made from scraps of fabric, remnants on clearance and even cool fabric you find at thrift stores or garages sales.
One of the best features is the fact that each pillow cover comes off and is easily folded and stored. If you invest in a nice pillow form, you can use it year round and simply store the pillow case! Storage solution solved.
Now that I have address my main concerns I am kicking off my seasonal pillow change out with cute Easter pillows. You all know I am a huge fan of Minted*** and they were kind enough to give me this precious bunny fabric*** for this project. They have tons of holiday fabrics to choose from and you can read my tips about buying fabric online for more details! I have another upholstery project coming soon!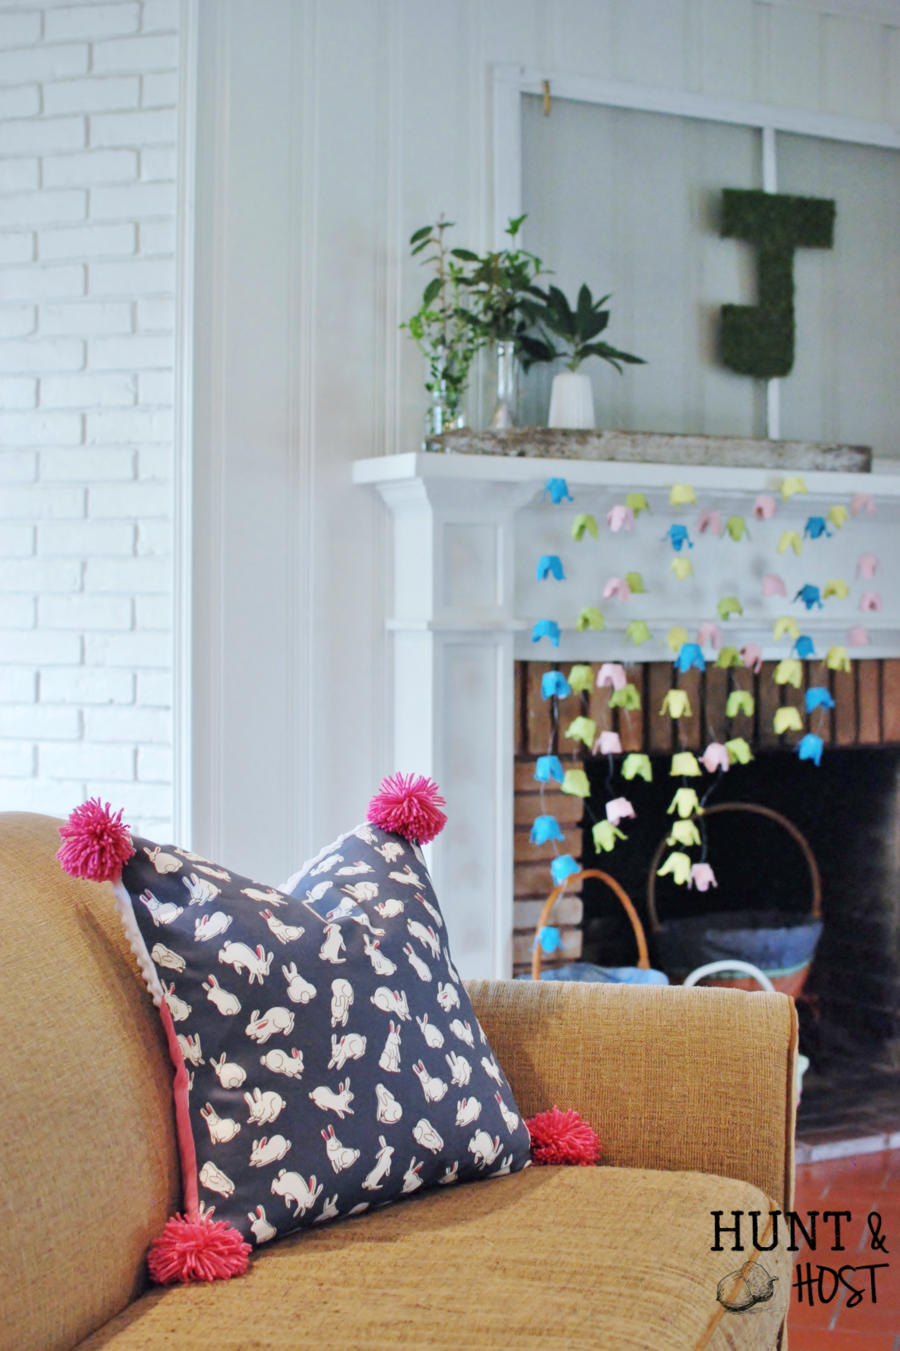
Pocket Pillow Tutorial:
For your pillows start with a size that works best for the space you plan on changing out seasonally. For me, I went with a 20″ pillow. I think these Synthetic Down Pillow Inserts*** look nice.
Select your fabric. I suggest if you are new to sewing (like me) you don’t pick a fabric with a lot of stretch or movement. It can be difficult to sew for a newbie. Iron it to remove any creases.
Using a large Quilter’s Ruler*** draw out your square on the wrong side of the fabric. You want to cut your fabric the same size as the form. If you are using a 20″ pillow form, make your square 20″ X 20″. It makes for a nice full pillow.

On the corners you want to draw a slightly tapered corner. This makes for a soft, not so boxy looking pillow.
Cut out this piece, it will be the front of your pillow, so repeat if you are making more than one pillow.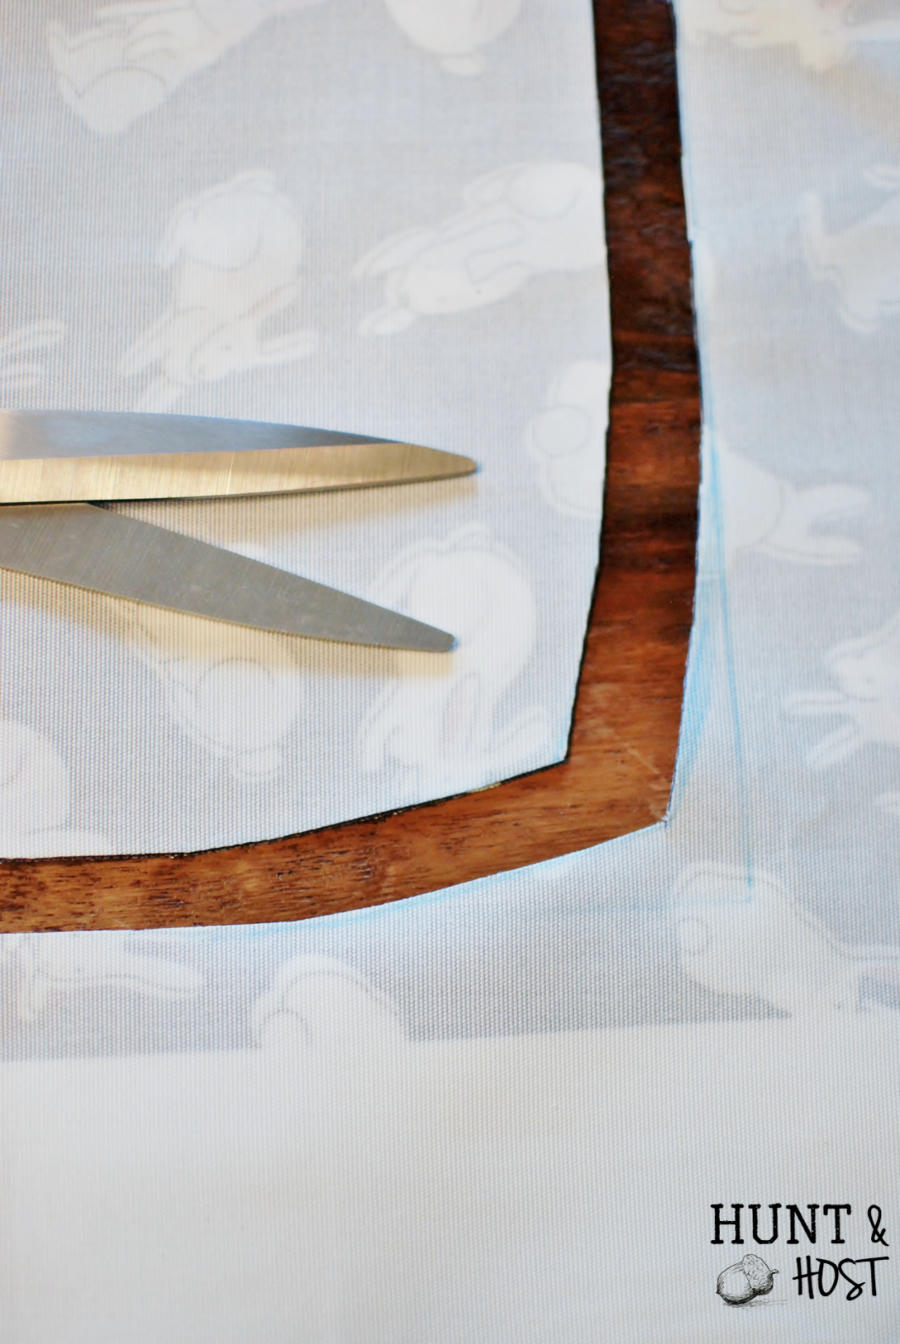
For the back (the pocket side) you will cut two pieces of fabric 20″ by approximately 13″. You want enough overlap of the two back pieces to make a deep enough pocket that the pillow doesn’t come out. This is where you can really incorporate scraps for costs saving. I used left over material to make a color block back to my Easter pillows.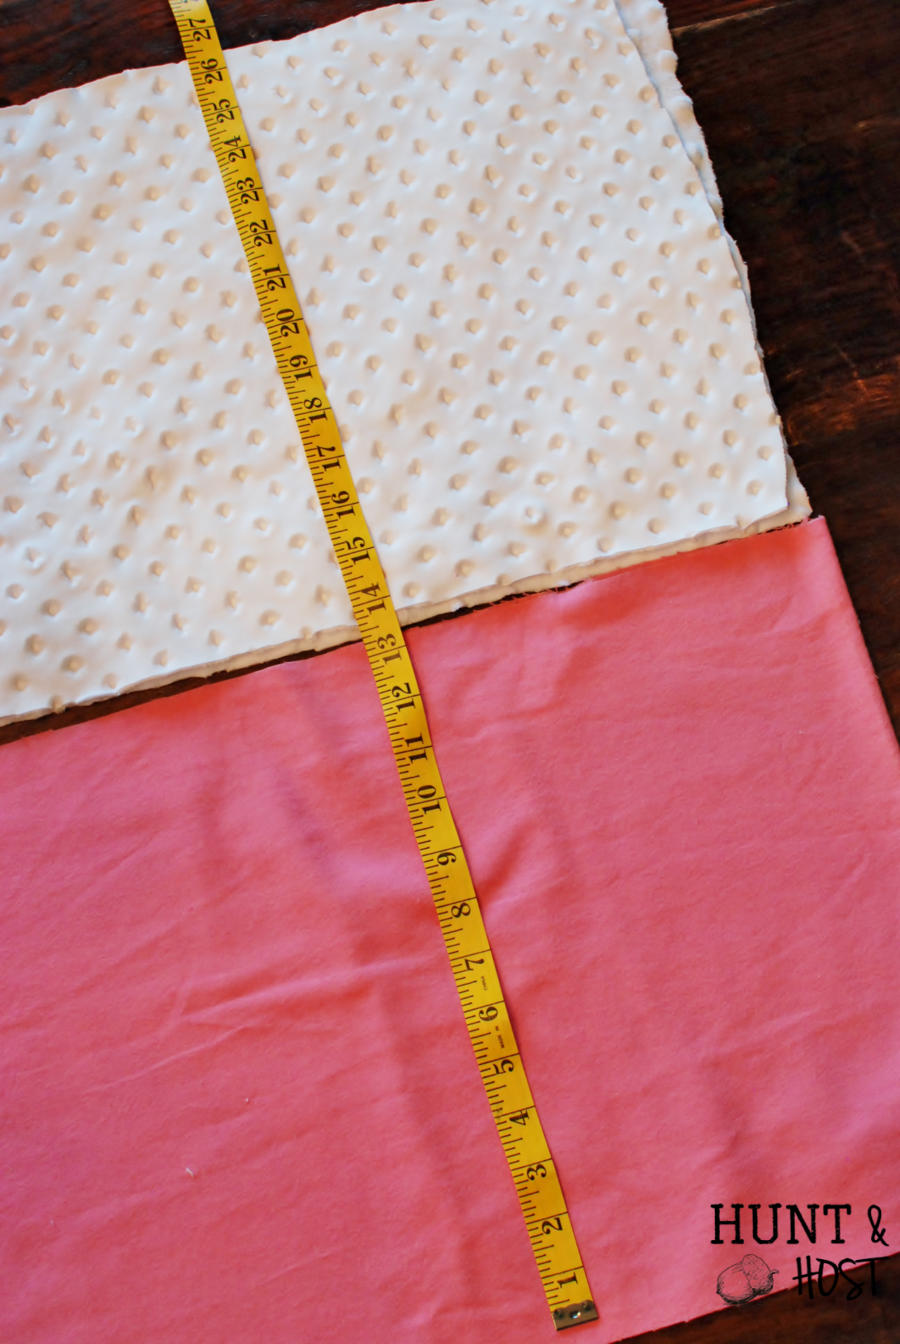
Use the front piece as a guide to cut the tapered corners on the back pieces too.
Now hem the straight edge of the two back pieces. This is the edge that will be the “pocket”. Simply hem by folding over a quarter inch and ironing, then folding another quarter inch and ironing the seam flat. Then sew a stitch through the seam. Ironing is always key to professional looking sewing.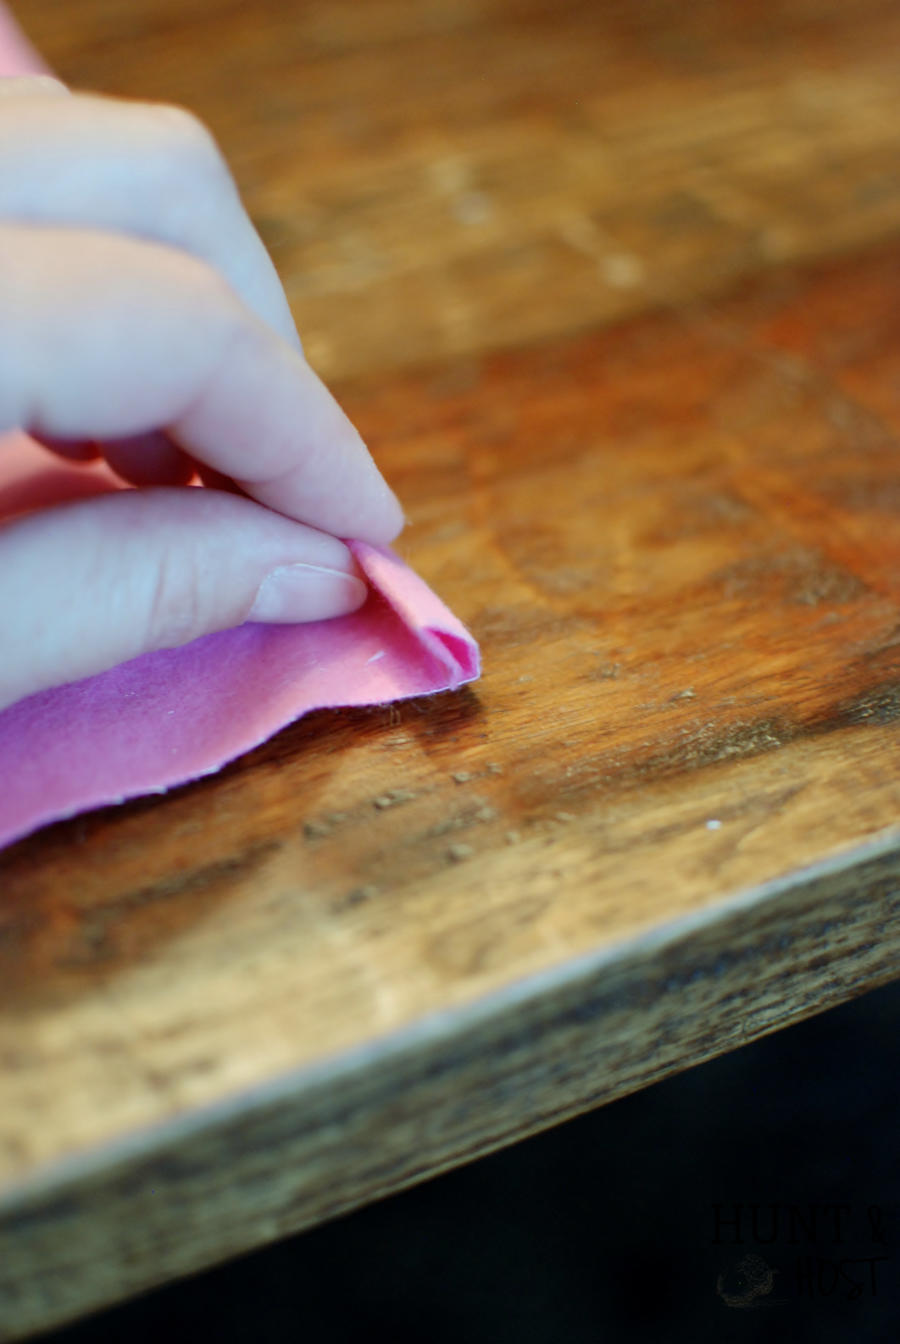
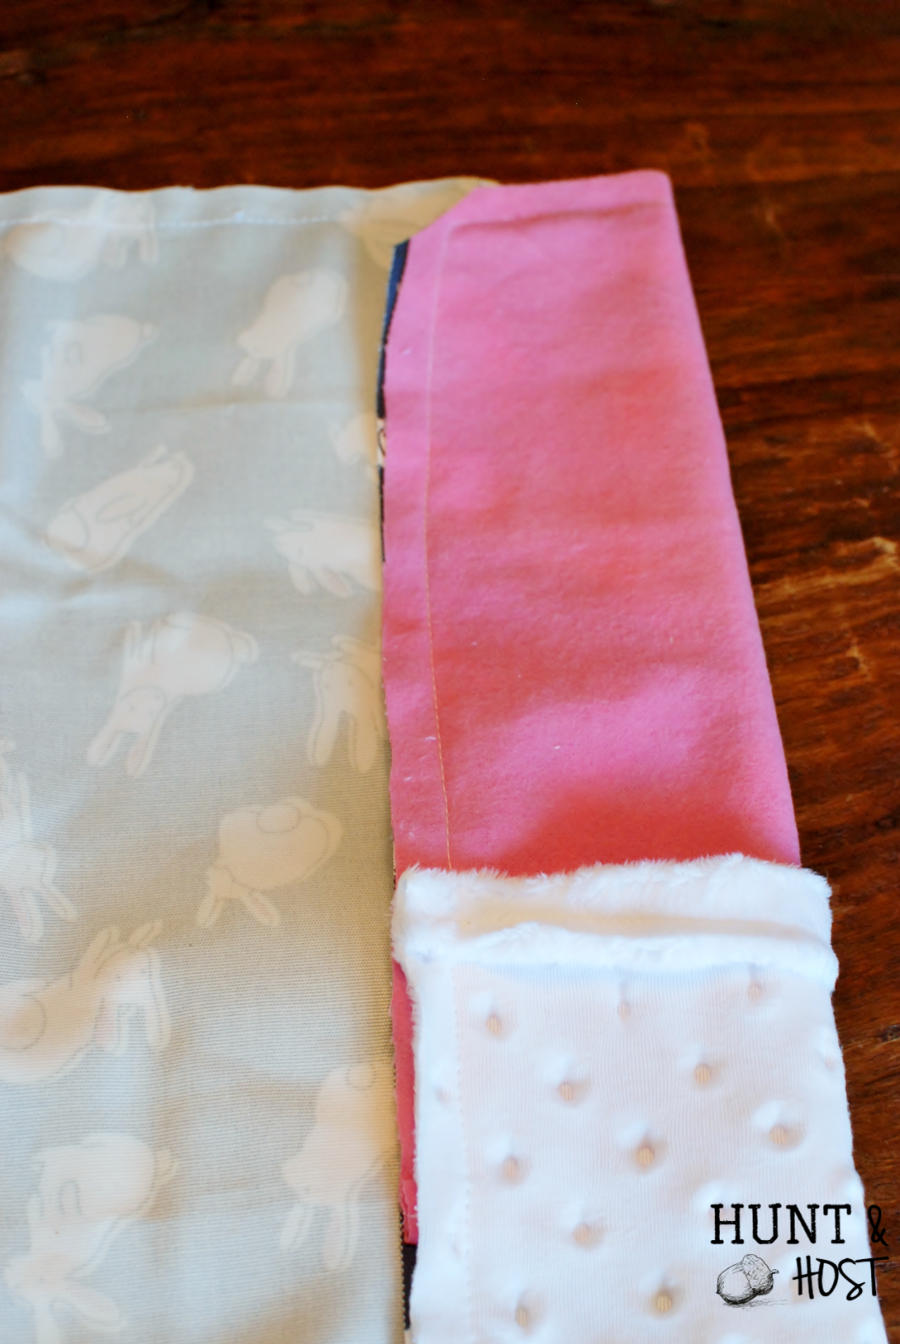
Assemble the pillow, wrong sides facing each other, back two pieces overlapped like we talked about above. 
Pin the pieces together.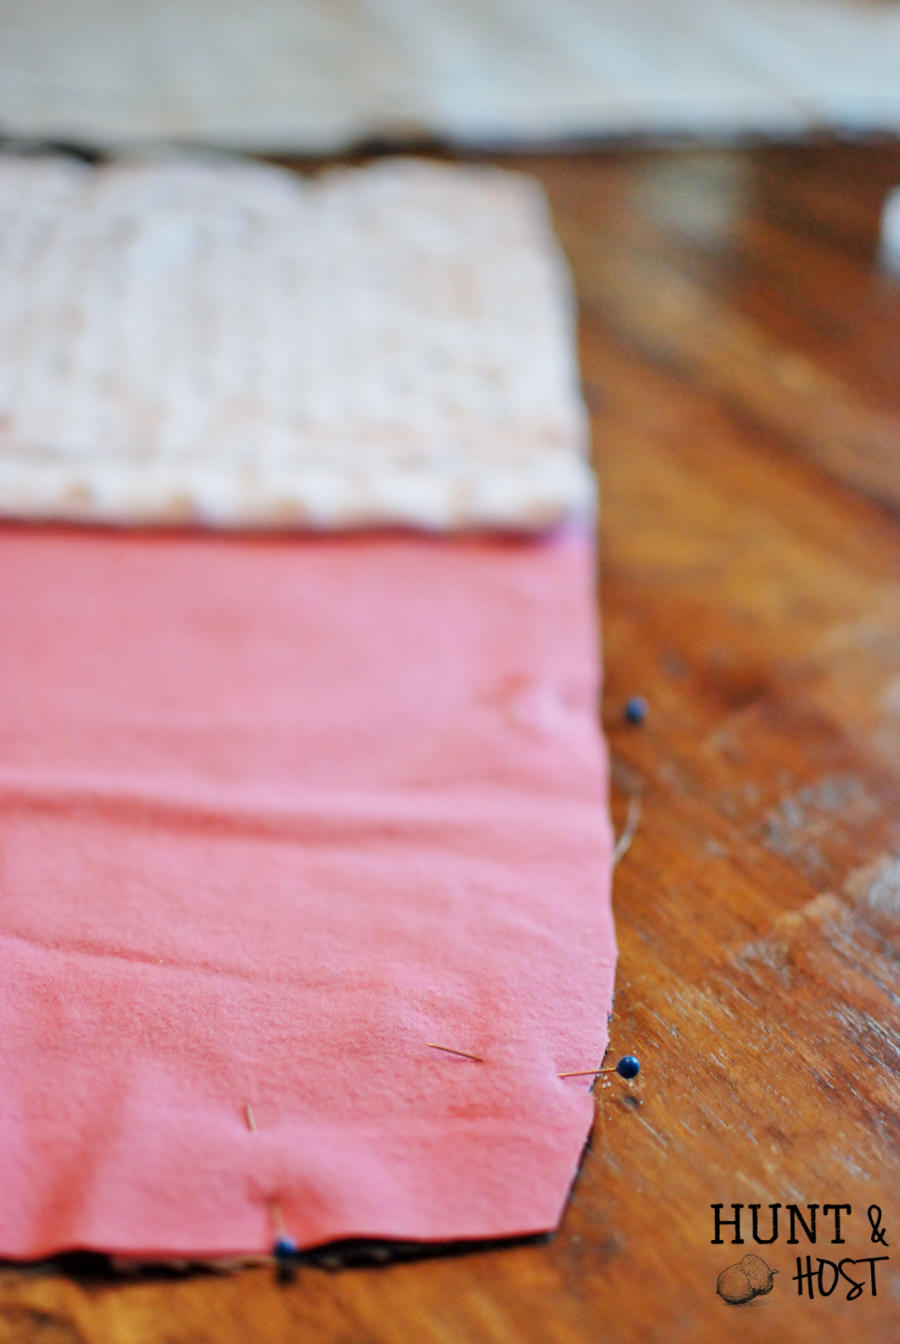
Sew the outer edge of pillow together. Use your machine foot as a guide to the outer edge and sew with your needle all the way to the left.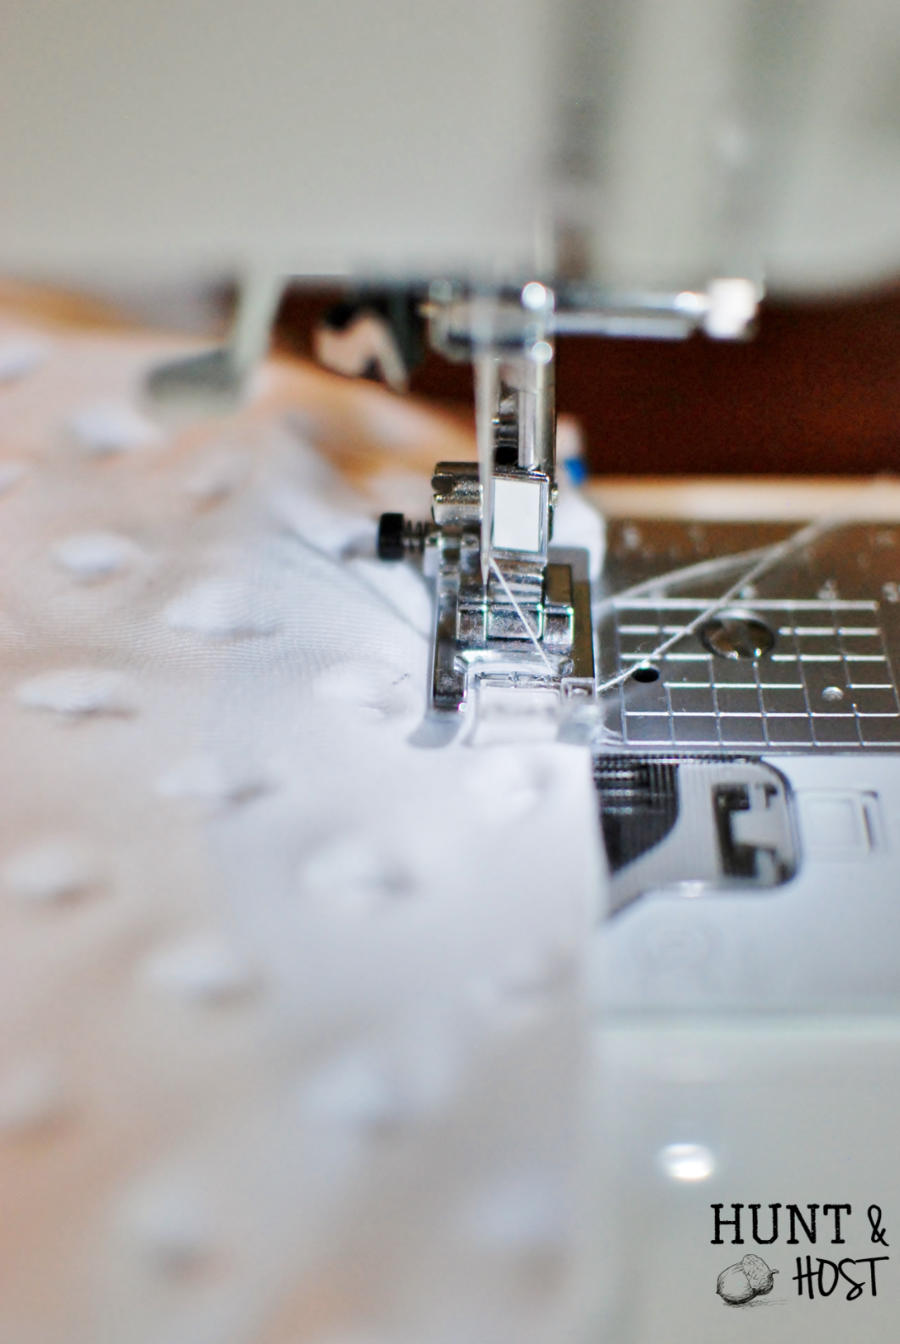
Once sewn trim the corners before turning right side out. Again – another trick to nice corners!
Now stuff it and enjoy your handiwork!
It’s fun to embellish your pillows with trim, pom poms or even painted writing to add an extra something special.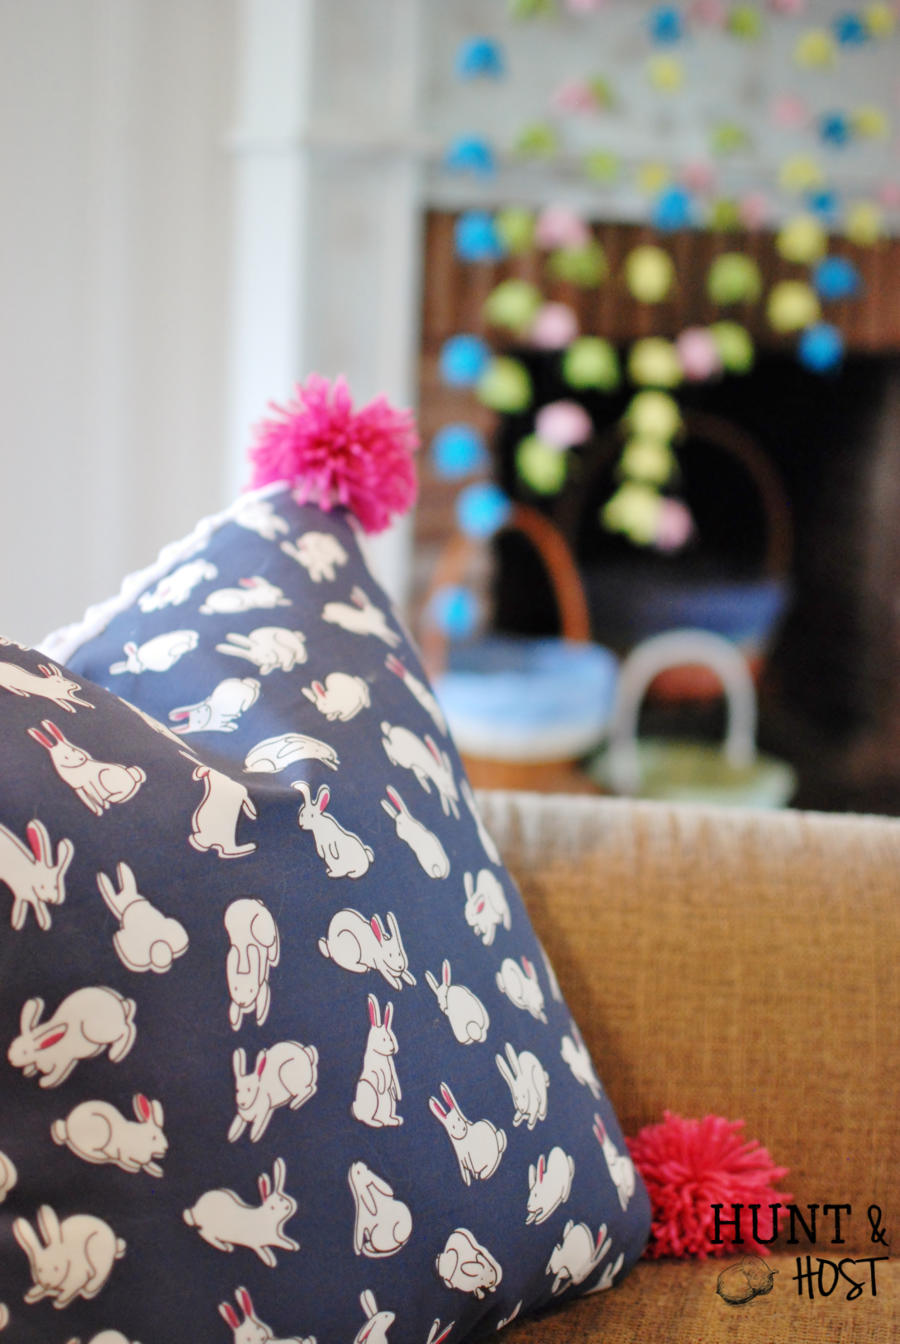
I hope this pocket pillow tutorial helps you tackle seasonal pillow change outs! You really will be amazed at the difference it makes in your home. Please let me know if you have any questions or extra tips to getting great looking pillows! Don’t forget to poke around over at Minted*** for some one of a kind, can only get it there seasonal fabrics! I’d sure appreciate it of you shared this post with others on Pinterest or Facebook!


???????? great idea!
You could make pillows for all your girls 😉
Cute idea and love the material!
Thanks Di – bunnies may not be for everyone, but we sure love them!
I love your idea, simply wonderful and easy. Thanks so much and have a great day.
They are so easy to make! yay!
I love it! Thank you for sharing this wonderful idea,
Helen H
so glad you like it Helen!
This is the perfect idea for me. I am a pillowaholic ~ just ask my hubby!
I’m about to be 🙂
What a terrific idea. Why have I never thought of this? I have plastic bins full of seasonal pillows. What a waste of space! Thank you for opening my eyes
I know! It took me a while to catch on too!!!
Well, this will be my new thing to do!!! Great idea. Love to change out pillows for seasons or just a change up…..I too have pillows that are stashed…Now, I can have as many changes as I want!! Thanks!
I am so excited about the possibilities of pillows
Great tutorial! I also feel the need to have 500 pillows, so this is right up my alley 🙂 And that bunny fabric is sooo adorable!
Pillows are surely a form of therapy, right!?
We are downsizing so this is my plan also. I love changing pillows but no room for extra. Problem solved! Plus pillows like no one else has.lol Thank you!
yay – more pillows for you lol!