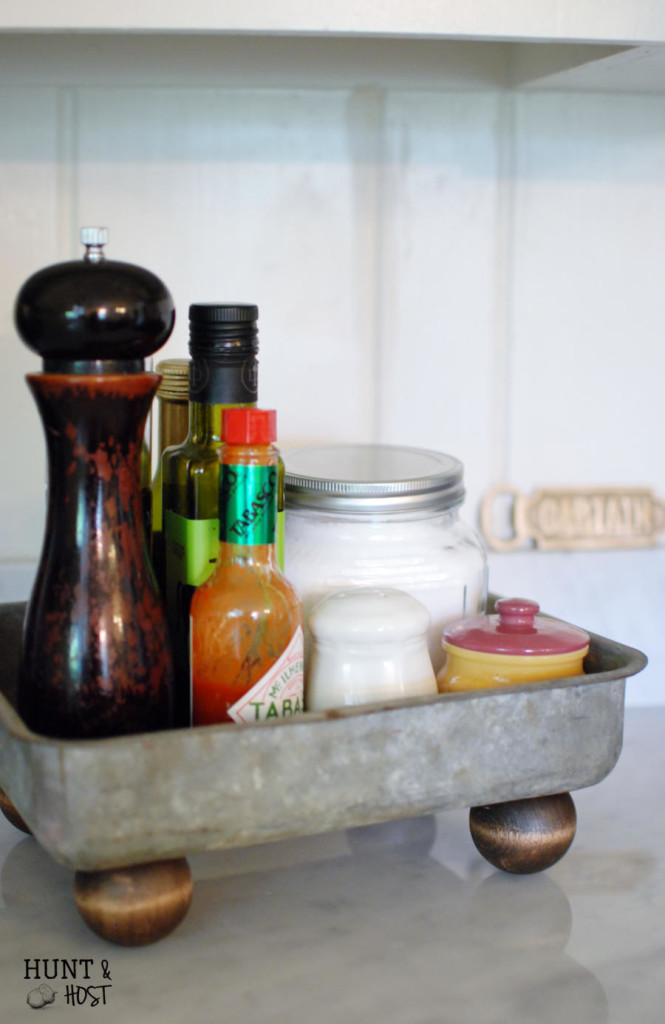
learn how to make a beautiful diy farmhouse footed tray in about 5 minutes!
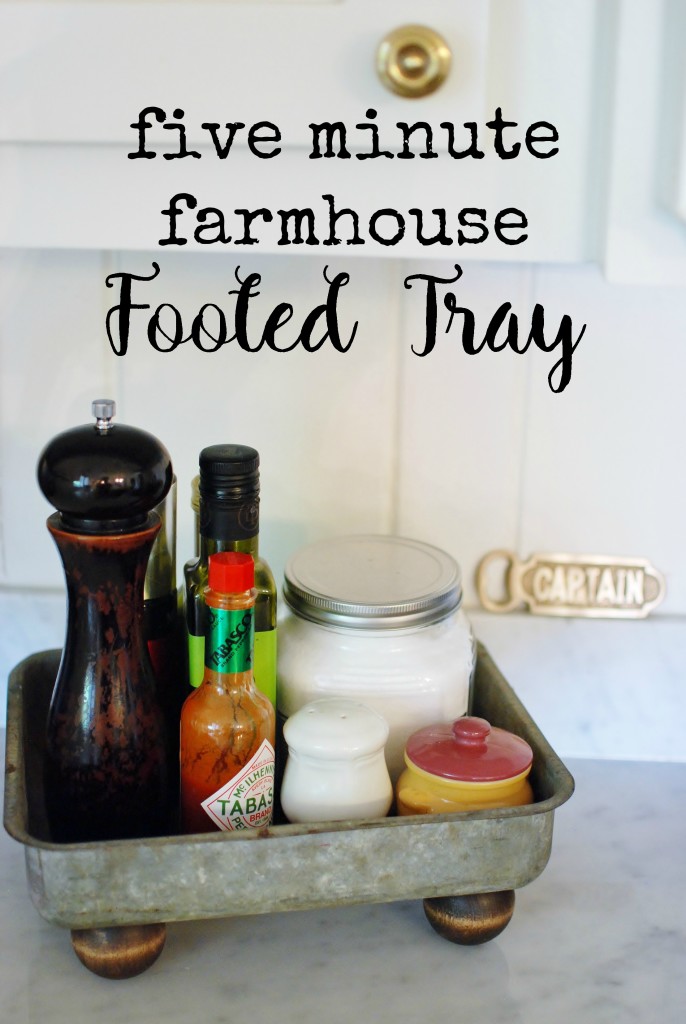
Today I’m sharing a fun and easy to make DIY farmhouse footed tray that you can make in about 5 minutes!
We all know Farmhouse style décor is all the rage. Many thanks to Joanna Gaines for that! Her style is effortless and pops up all over these days.
I see tons of fun items in the stores, but I can’t bring myself to pay the price tag. I know to much about how easy it is to create some of these looks at home for WAY less.
Over the next few weeks I’ll share some five minute farmhouse ideas you can DIY on the cheap! Especially if you garage sale, curbside or thrift store shop.
All the main parts in these projects are easy to find in these inexpensive shopping spots. You just have to know what to look for!
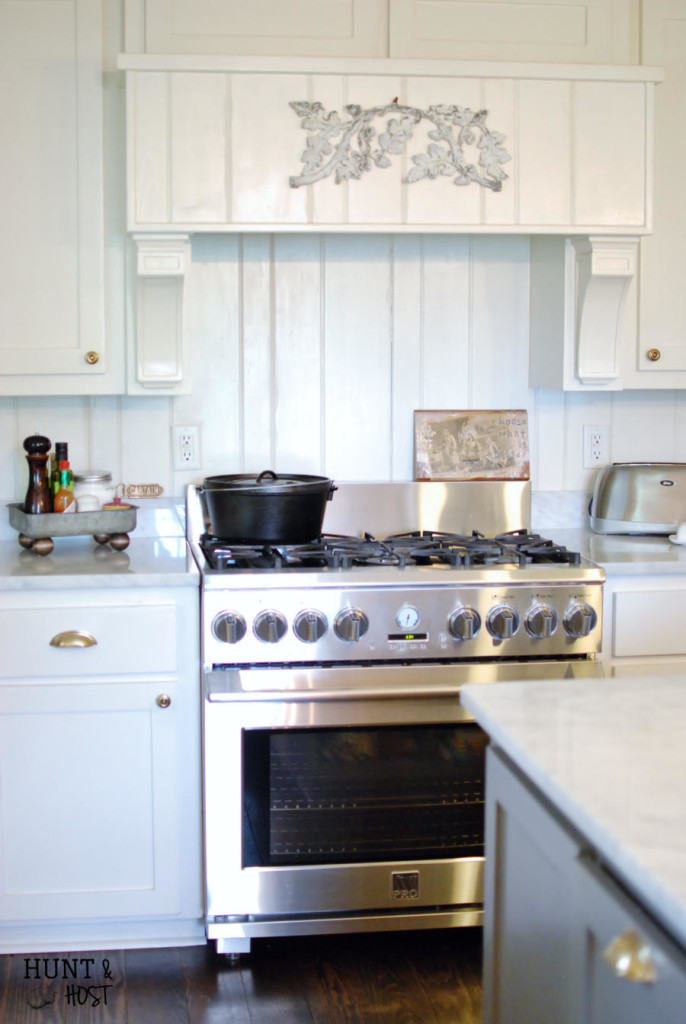
This week I am showing you a project birthed out of necessity. Next to our stovetop we have a platter I made years ago at a paint it yourself pottery girl’s night.
It holds all the miscellaneous spices we cook with regularly. When I say we, I mean my husband. I am so lucky, you have no idea.
Anyway…trays and platters help group things together to look less cluttered, so I consider a tray in this particular area a necessity.
The green painted platter had seen it’s day, so it was time to move on. Are you new to the blog? Join me more often!!! If you join the e-mail list I will let you know when I have new easy DIY home decor ready for you to check out:
The form you have selected does not exist.
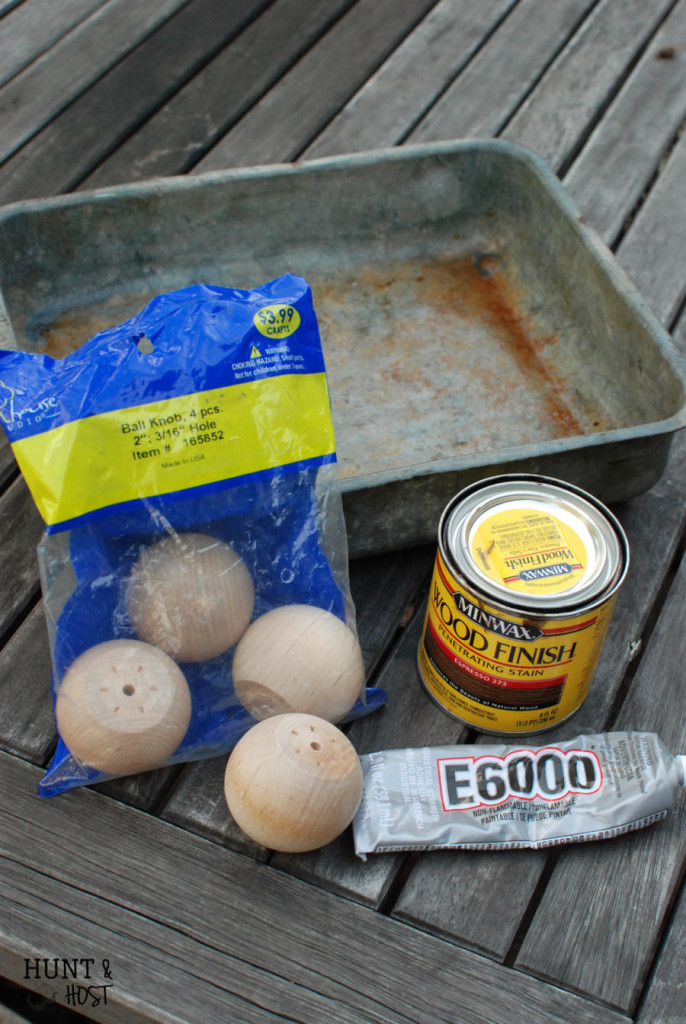
This old pan I scored at a garage sale is no longer good for cooking, like a truck left in a field it was covered with dents and rust.
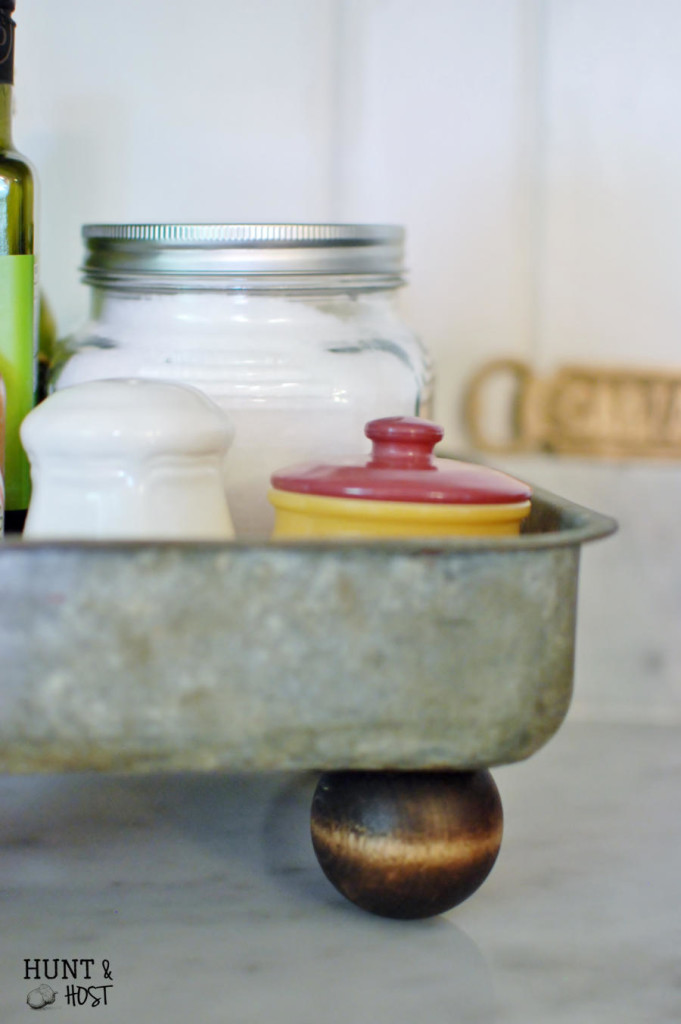
Now it’s perfect. I hammered out a few dents so it would sit a little straighter and bottles wouldn’t wobble inside.
The thing about metal is you can’t really sit it straight on a surface you care about, it will rust and leave messy marks. Enter these wooden ball knobs.
They were bought for another project that never happened.
I used one of my favorites, Espresso colored stain on the knobs. They are perfect for feet because they come with a flat edge. E6000 is my go to glue…it dries quickly, adheres a ton of different surfaces and is all around easy to use.
I put a dab of glue on each knob and attached them to the bottom of the pan. Allow to dry completely and you have yourself a precious farmhouse footed tray!
I will say the knobs come in a variety of sizes and I wish mine were a tad bit smaller, but I always use what I have on hand! Next week…a five minute farmhouse bud vase!
If you enjoyed this project would you please share it so others can too! I sincerely appreciate it!
Check out these other farmhouse inspired projects:
Farmhouse patina on cheap stool
[mv_create title=”How To Make A Five Minute Farmhouse Footed Tray” key=”31″ thumbnail=”https://salvagedliving.com/wp-content/uploads/2016/05/five-minute-farmhouse-footed-tray-huntandhost.net3_.jpg” type=”diy”]





This is so cute and functional! Now those little ball feet have me thinking about where I could use them. 🙂
I know…I could put little feet on a ton of things!
I really like the tray makeover it is so useful and cute.. Hope your Mother’s Day was joyful.
Thanks Marlene – I had the best Mother’s Day. I am truly so blessed just to be a mom 🙂
What a cool idea. I certainly need to make one. I like to keep a tray by the sink to hold scrubbing brushes and dish soap. This will be perfect.
That would be a perfect place for a tray like this, you definitely can’t put metal straight on the counter by the sink!!!
Good idea.
🙂 thank you!
This is such a creative idea and so simple too. Thanks for linking up with Talk of the Town.
Thanks Betsy for having me 🙂
What a cute idea! And how simple! You are spot on about things being grouped in containers not causing clutter. Thanks so much for linking to Waiting on…Wednesday!
Thanks – I need to un clutter as much as possible around here!
This is super cute! I need to make one of these!
thanks! So easy to whip up!
This is genius! I love the little feet, so perfect! Thanks for sharing!
Thank you Daraka!
I just love this!!!! I would have passed that tray right by. Now I’m going to look for one! I’m so glad you shared with us at Thrifted and Relifted!!!
They are everywhere, easy to find and inexpensive!
This is so adorable!! Thanks for sharing!
Thanks Ty
This is so adorable and super creative!! Thank you so much for sharing!!
Glad you like it, thanks for stopping by!
Very creative project! Thanks for linking up!
I was just thinking of you today as I scored 4 wooden ball feet at a thrift store. I went with the large ones as I think that really makes the whole project perfect. Now I just need the pan. I do so love yours!
aww thanks Kat – I bet you’ll find a pan in no time! I just found another one the other day for fifty cents!!!
LOVE LOVE LOVE You are blessed with such a wonderfully creative gift. Thank you for sharing it with us.
Thank you – I am so glad you enjoyed this project!!!
I love this tray, especially with those cute “chubby” feet, they make it almost come to life. I’d probably name it. Lol! Thank you for sharing this great idea, I love trays.
lol – how fun! I’d love to hear what you’d name it!!!
Love your idea…quick, simple and useful!
Thanks and a useful thing is always better…these crates move all around the house, I use them all the time!
Love it, Kim!
Thanks Larissa!
Lots of inspiration from your site, and by the way I love the new name and look!
This is such a terrific idea. Definitely want to do this. I use spices and keep a couple but this will hold more. Great to look at and very useful as well.
Thanks for the inspiration!
Thanks Eileen, so glad you like the name and this little project is so handy!! Have fun with it
I love the items you make out of old things. I save them all to use soon.
thank you Beth, so happy to give you some ideas!
Hi Kim, I came across your blog, and love it! I can’t find where to sign up for your emails, though.
DIana – I hope you found a spot, you can look here if not!
Love this idea!! On a another idea, take an old cast iron grate from a gas stove, spray paint if needed and add sticky Velcro to the bottom side on the corners– instant trivet
Hi, Kim. This post on Pinterest is what brought me to your site. I love your style & the way you repurpose items that, otherwise, might be thrown away. God bless.
Thank you so much I am so glad you’re here!! Xoxo
This is so super cute! I love it!