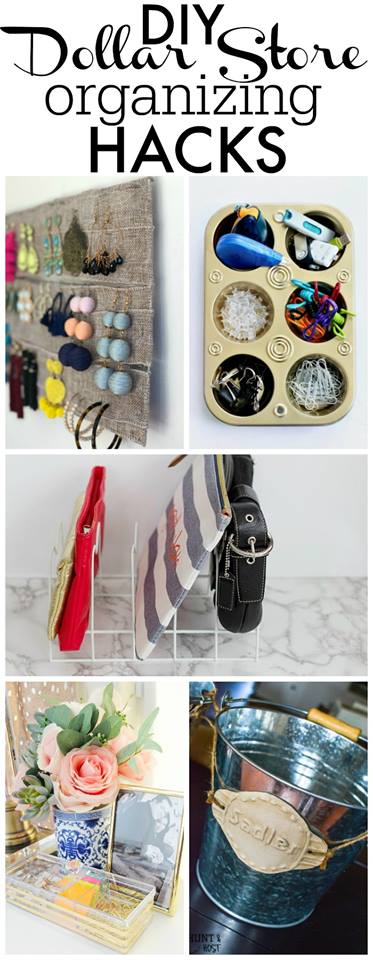
These cute dollar store buckets got personalized tin labels for a fresh look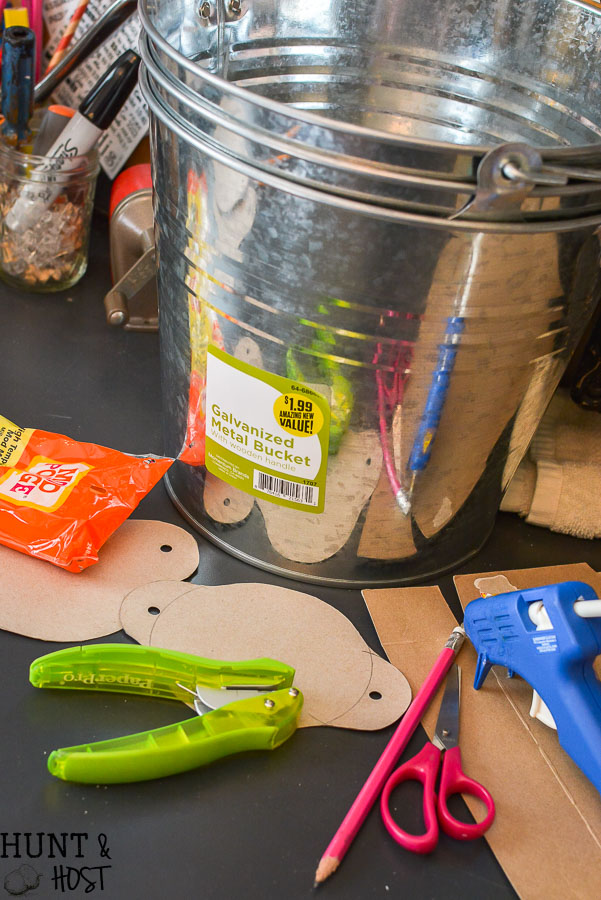
The dollar store rocks friends. If you don’t know this yet I am here today to make sure you add dollar store shopping to your to do list. I’m joining a few friends to give you some organizing ideas for the dollar store goodies you find, you can find their ideas at the bottom of this post, please go say hi. To make your cheap score super special try these DIY personalized tin labels and get organized with a side of cute.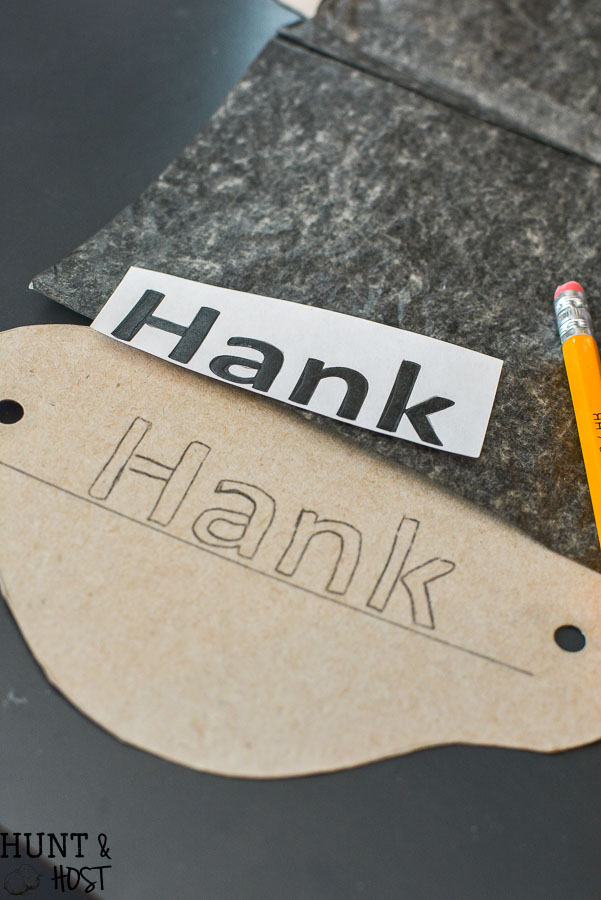
Can you even believe these aluminum buckets are from the dollar store (the 99¢ Store to be exact)? Ok – so I splurged because these were actually $1.99 each and I bought three…one for each kiddo. The DIY label is practically free though, because I’m sure you have the stuff to make them already! These buckets are out of necessity in our living room.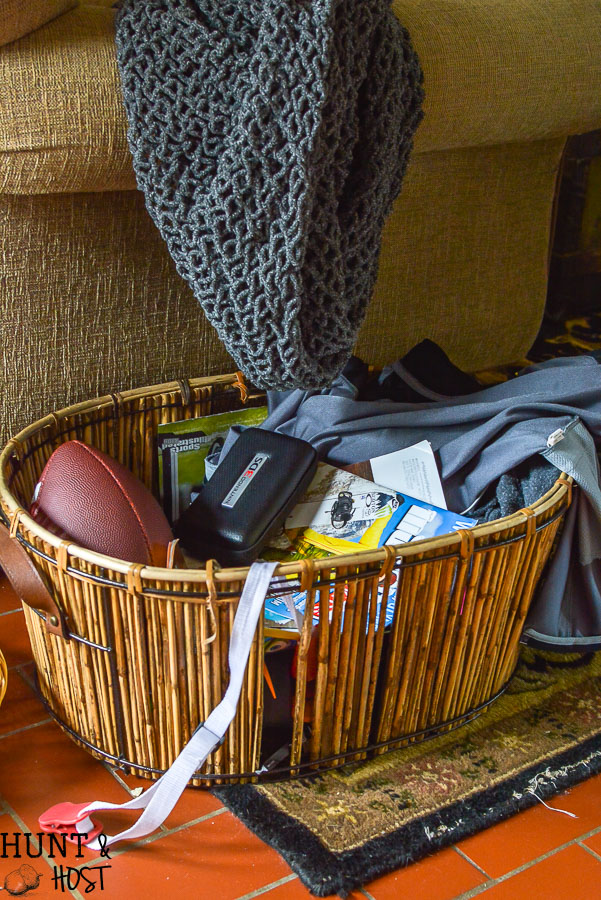 I have this large basket that is the kid’s junk catch all. Once it becomes overflowing I send it to the back of the house with the kids to unload. Its seen better days and needed a replacement. I love that I can throw things in each kid’s bucket and send them on their way. I hope this helps at least a little. 🙂 A girl can dream right?
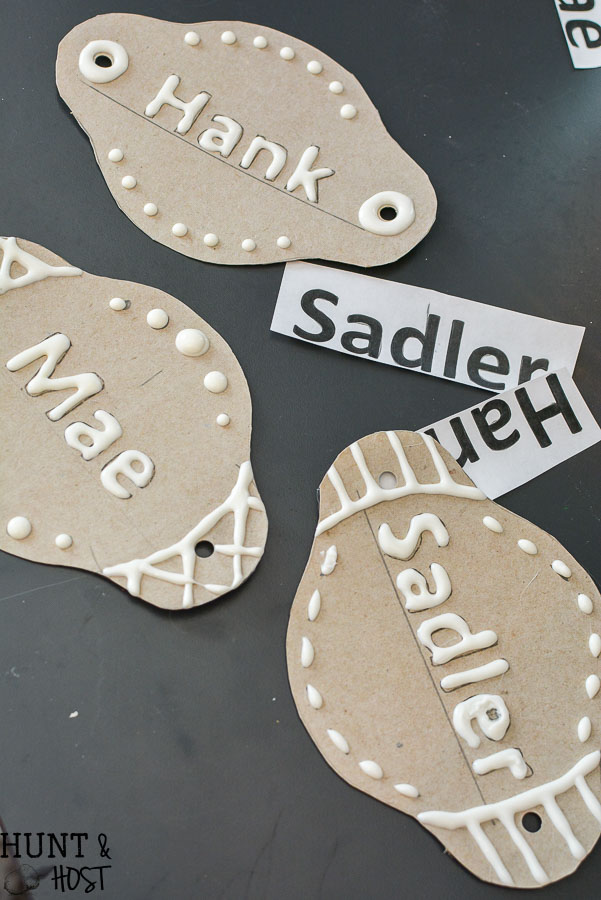
To make these easy tin labels ( I used this same concept to make a faux tin ceiling tile in the dollhouse makeover here) I started with a cereal box and cute a cute label shape sized to fit my new dollar store buckets. Next I printed out my kiddos names in a fat easy font on the computer, sized to fit the label shape. Be thoughtful in the font you use, intricate or skinny letters will be tough for this application. With tracing paper I traced the letters in a straight line onto the cardboard. Using a glue gun I used modge podge melt sticks to “trace” the letters onto the cardboard label. You could use regular hot glue, I just like this kind because the glue stick is long and easier to work with. Next I added a fun design to each label to jazz them up.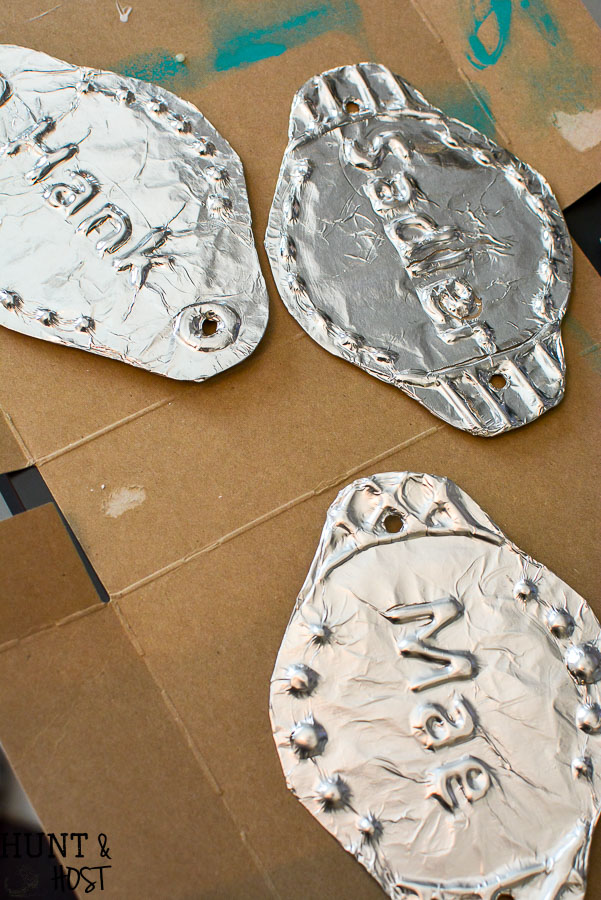
Once the glue dried I cut a piece of aluminum foil and starting in the middle used a soft cloth to gently rub the foil around the raised letters and design. The foil might break through in a few spots and that’s ok, it adds to the charm so don’t worry. Wrap the foil around the back and cut any excess off. I used the hot glue to secure the edges of the foil on the back. BTW – if you are liking this makeover, be sure to sign up for my free e-mail, I’ll let you know when a make a fun new project!
The form you have selected does not exist.
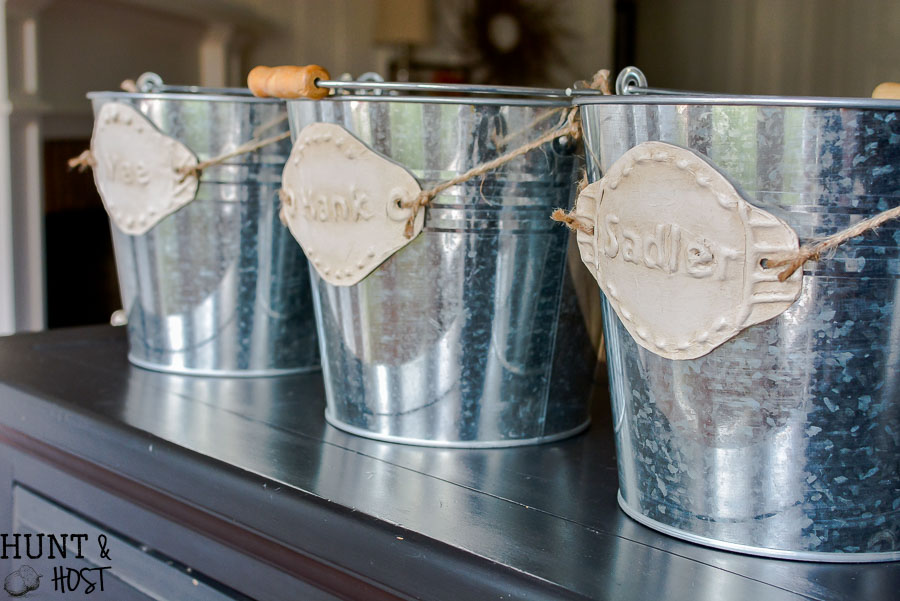
Use a chalk type paint (you can make your own, tips here!) and paint the foil, I used two coats for good coverage. Next I used a dark wax to age the piece and add depth to the letters and design, it really helps them show up. You can paint these any color, neutral or bright, AND you can put any word, phrase or name you want on them, use your imagination to work with your decor and needs.
You could hang these tin labels from buckets or boxes like I did, using pretty ribbon or jute twine. You could also glue them to just about anything you want to label and seriously the dollar stores have tons of inexpensive organizing options.
Organizing is always more fun when it’s cute and this easy DIY tin label will help you make your space clutter free and pretty! Let me know if you have any questions! Be sure to save this DIY for later and then head over to visit my other dollar store idea friends: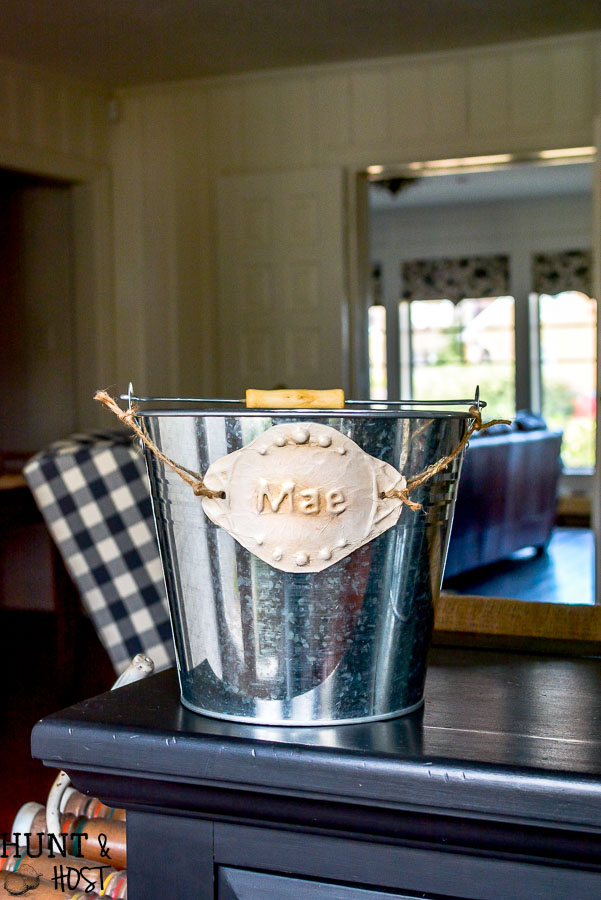
This is our Bliss || Southern State of Mind || The Organized Mama || Monica Wants It
Want to see more dollar store projects? Try these: DIY Necklace | Blooming Box | Boho Table | Hostess Gift | Halloween Idea | Tablet Holder



Wow I love your label idea! Awesome!
thanks, they are pretty easy and I love to personalize anything that will sit still lol!
What a cute idea! NEVER would have thought of this !! Thank goodness for bloggers like you!
You are so sweet Patty! I am glad you like the idea, it’s definitely easy!
Kim! I’m in awe at your labels! What a cool method. Super creative and they turned out fabulous! Here’s to hoping the kids can follow through on our best laid plans 🙂
thanks girl, I am not holding my breath!!!!
I love love your labels … I will have to try this … Thank you
let me know how yours turn out! I would love to see what you come up with!
That is such a great idea to personalize those galvanized buckets! Love the inspiration!
thanks, I was excited to get those buckets for $2!
Very cute idea!
thank you Carlene!
Those are adorable Kim!!
Thanks – I am loving how they turned out!
I like the idea for the labels. They would work on my planters and on my guest room baskets.
I used the idea of the baskets for the kids when my two were younger….it really worked. I had them at the foot of the stairs for their trips up. They also came down with all kinds of things in them. They became their “ return to someone/somewhere” buckets later on.
they could be used in a ton of different places. We are going to have stairs in our next house and I am pretty sure they will be used like you did!