DIY Dollhouse Wall Art and Décor is easy and fun to create
Welcome to my dollhouse wonderland. I have managed to create some fun DIY wall art and décor all while polishing off a few more episodes of Call the Midwife on Netflix. Seriously, this is my kind of project. I got a ton of things from miniatures.com to complete the dollhouse makeover, but there were few things I got that I wanted to modify and a few things I wanted to add to make this a super personal dollhouse. Here are the DIY’s I worked on this week (Next week will be the total living room and kitchen reveal, eeekkk):
No home is complete without a family portrait! I printed off a black and white wallet size photo of our Christmas card picture from last year. Black and white calms the colors and really helps a photo blend into any color pallet. I made my own frame using left over trim pieces, cutting the corners on a 45° angle with my miter box and saw then gluing them together with rapid fuse wood adhesive. 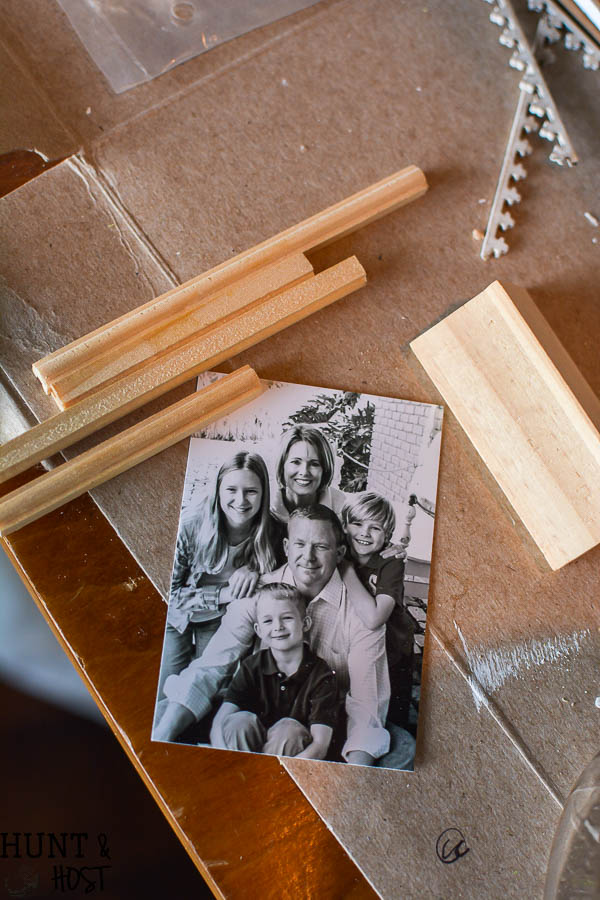 I painted the frame gray and then black and distressed the paint. This really makes the dollhouse ours 🙂
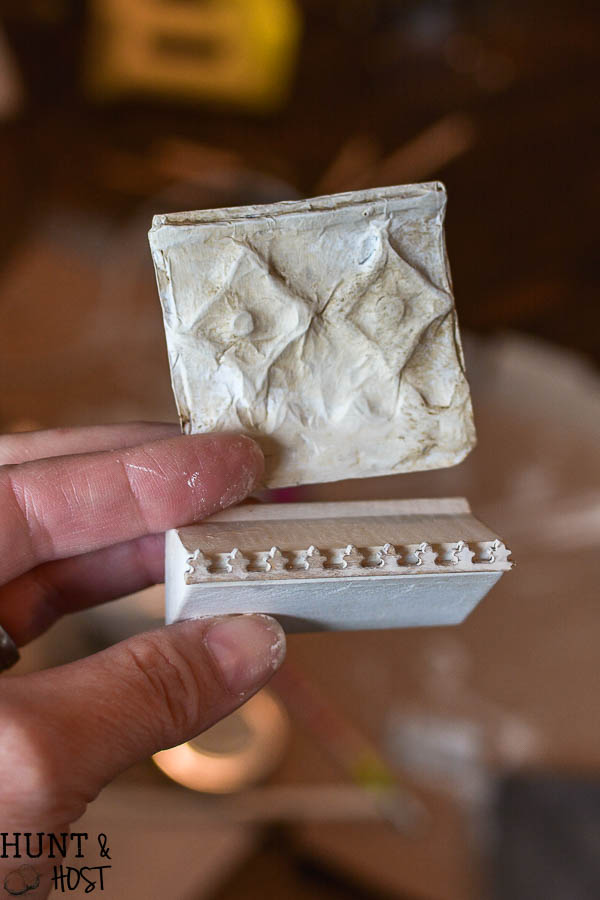
This post is sponsored by Miniatures.com and DecoArt, all ideas and opinions are 100% my own. 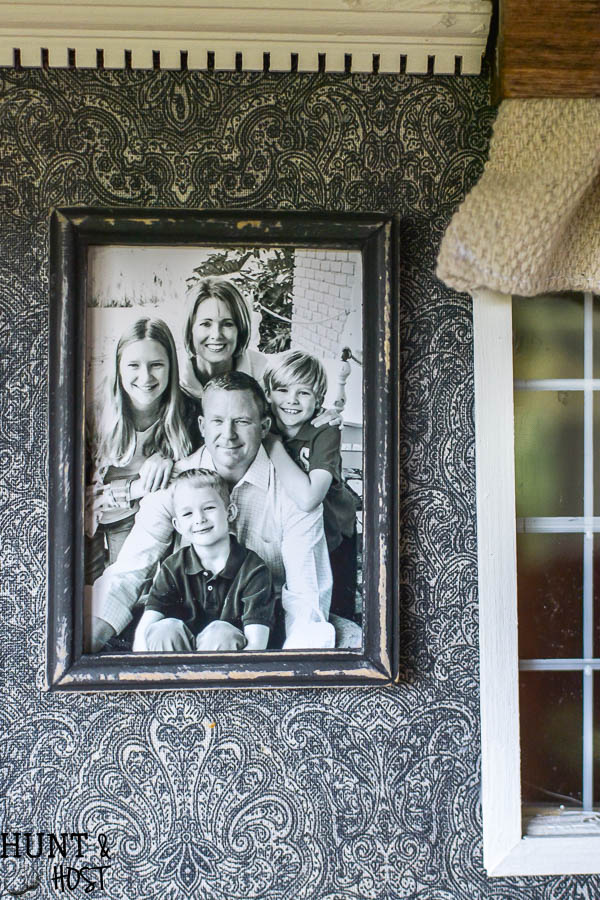 Next to add some age and “antiques” to the mix I made a faux tin ceiling tile. The tile started by free hand drawing a pattern into tin foil with a dull pencil, then I used a hot glue gun to go over the design.
 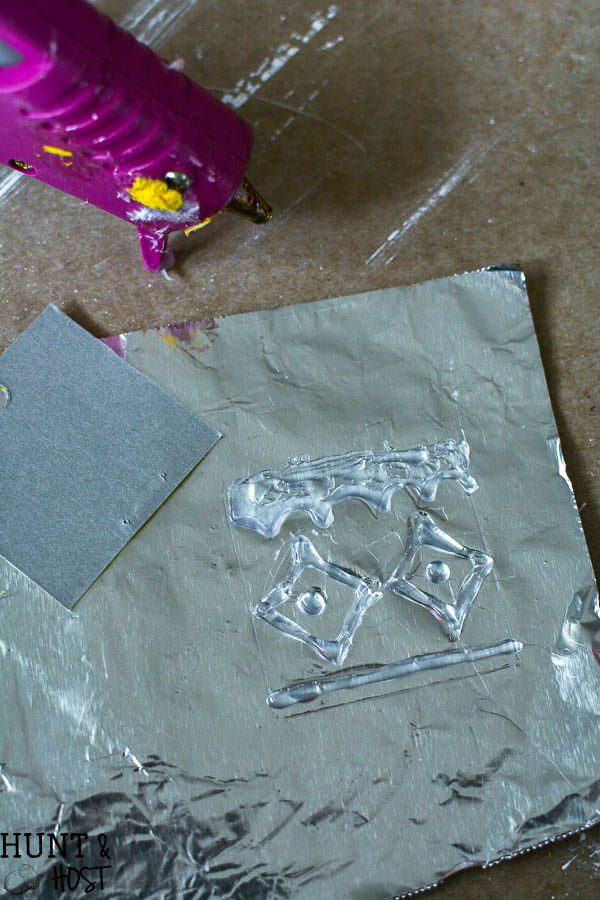 This layer got flipped and put on top of a piece of cardboard and I lightly pressed the tin foil down around the raised glue to give the tin dimension.
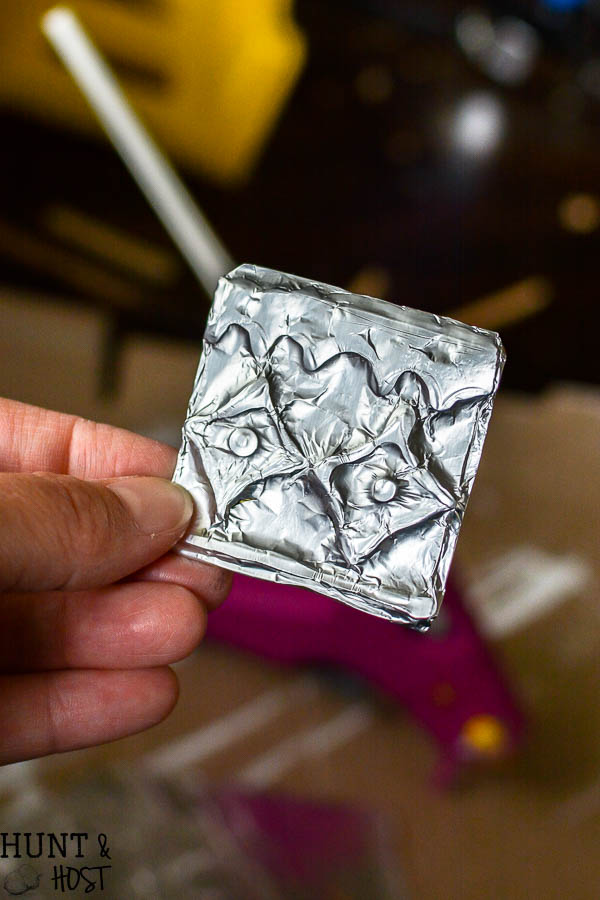 I painted it with a coat of DecoArt White Linen and used dark wax to add age and depth. For the sweet little shelf you see I upcycled a spare stair by painting it and adding some trim I ordered. If you are going to makeover a dollhouse I suggest ordering extra odd and end trim to add to pieces or use as décor, not just it’s intended use. It’s a great way to make your dollhouse have some vintage flair!
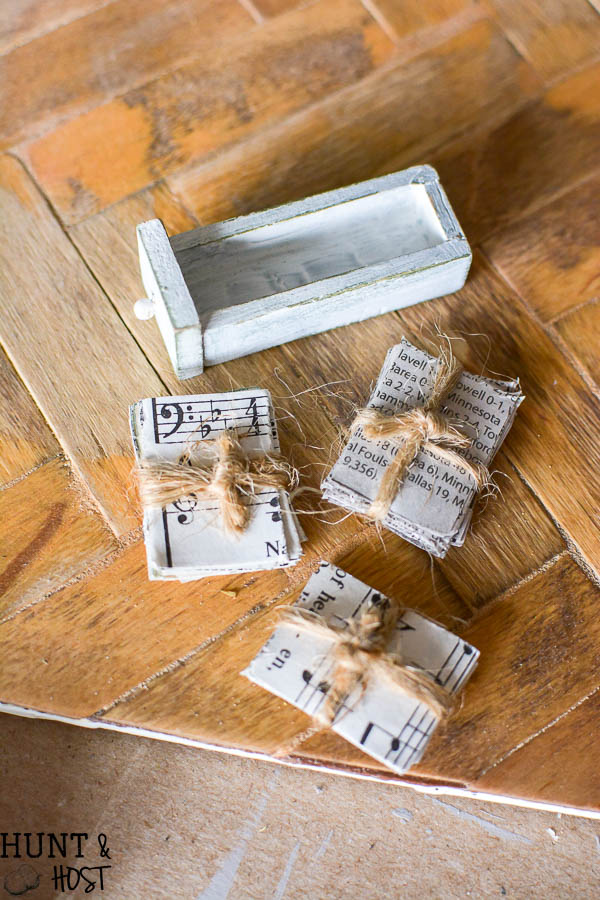
I ordered some precious book sets for décor that you will see next week, but I wanted to add some unbound book bundles to the mix. I gathered some newspaper and old hymnal pages then cut them into 1″ X 3/4″ pieces with my scrapbook paper cutter. Jute string has three strands to it, so I unwound them and used one for each book bundle.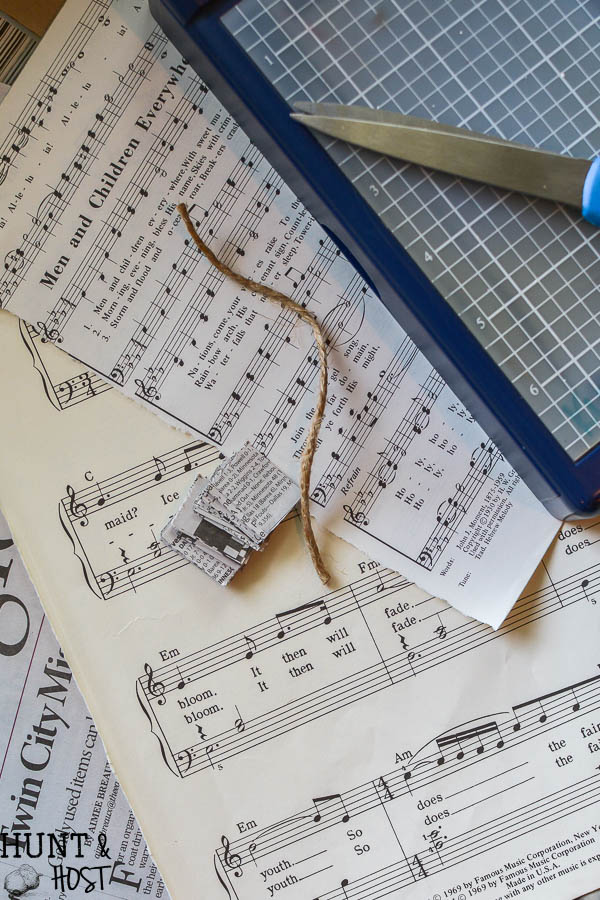 How cute are these? Next, I was given a pile of broken furniture with the dollhouse, most of it had to be tossed, but being the hoarder I am, I knew some of it could be upcycled. You can do this in real life too! This extra drawer will be used as a stylish tray for the coffee table.
I turned a bunch of old chair rails and table legs into giant candlesticks. I simply cut them down, added a small piece to the ends for a base and candle holder and painted them.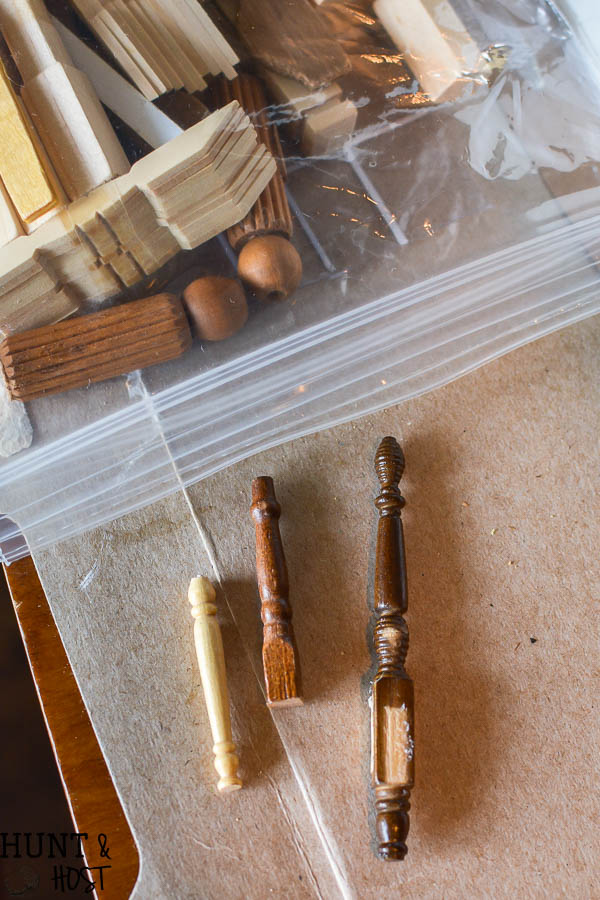
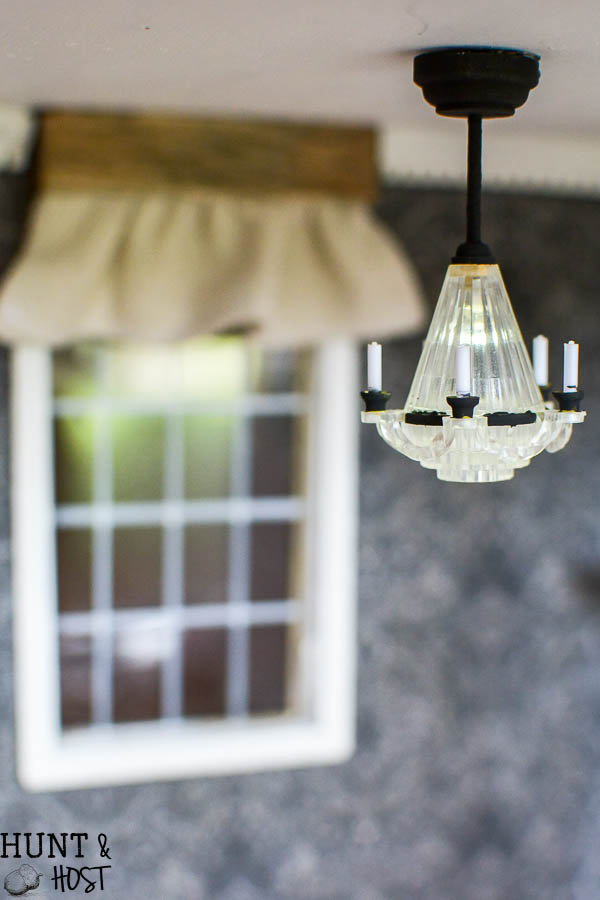
Perfect for decorating any room in the house…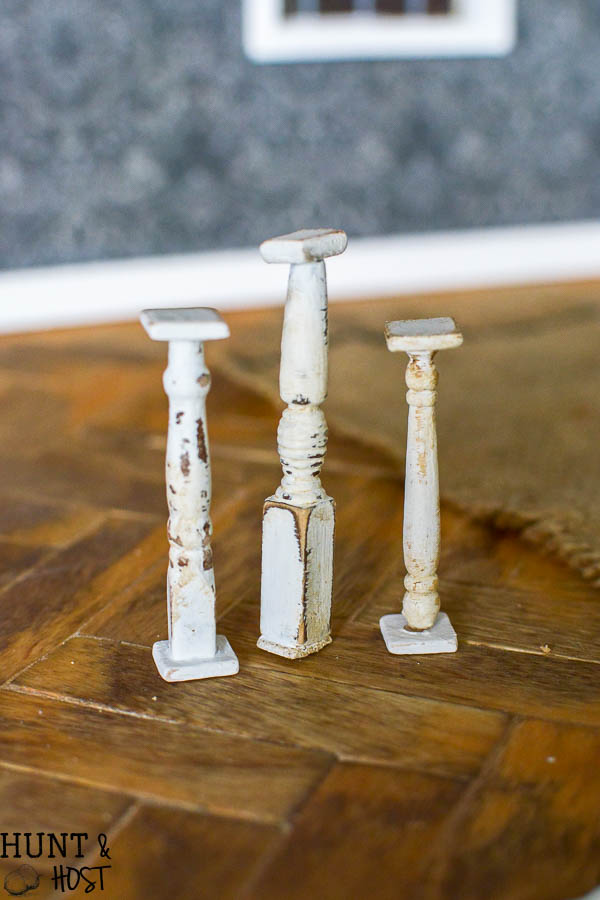 I ordered this working chandelier (from minitures.com) for the living room, but wanted to tone down the gold a little bit, so I painted it with a tiny brush (and I had to use my cheaters 😉 and DecoArt Carbon Black Chalkpaint.
  Now it fits more with the décor!
 I added a cute lantern light (from miniatures.com) above the soon to be sink area and the family chalkboard above were the fridge will be. The chalkboard will be more of a seasonal display and this house is gearing up for Thanksgiving! I found the mini chalkboard at the craft store.
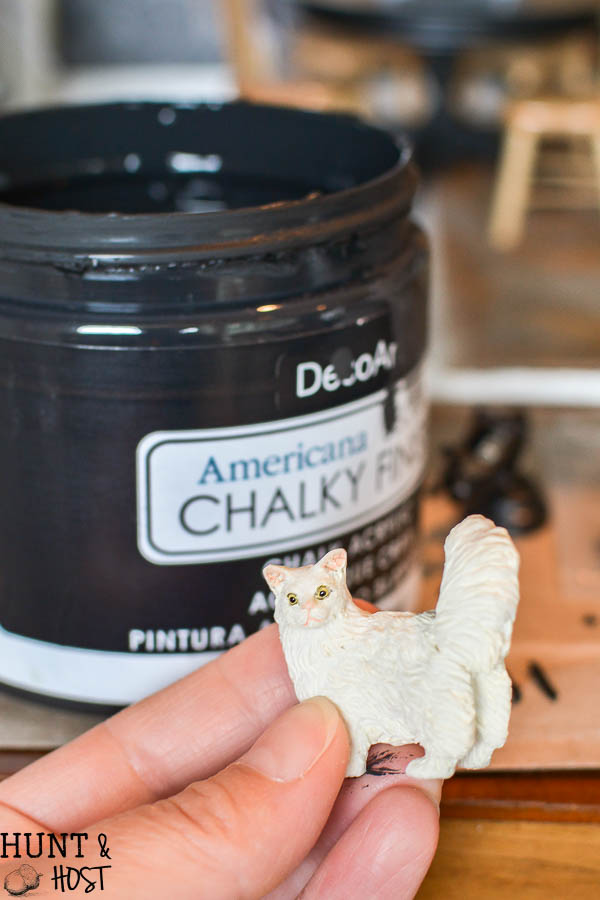
Plates always make for precious wall décor and the dollhouse is no exception. To hang these and almost of the items in the room I used sticky poster gum so the pieces could easily be taken down and moved. I got all my dishes from minitaures.com, wait till you see them all!!! Possibly one of my favorite things for the dollhouse are all the animals! We tried to pick out the closest looking animals to our zoo from minitures.com. While they have a ton of choice, not all matched exactly, but that’s ok…make them your own! I added a few touches of black paint to make this white cat a replica of our Boo.
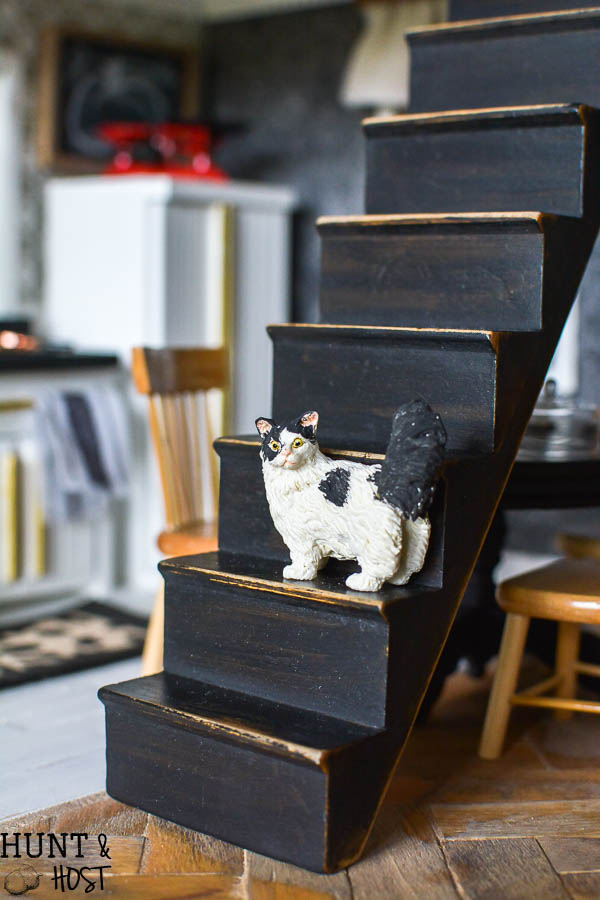
 Here he is in a sneak peek of the finished house next week. I’m still not done, but getting close and have been setting it all up to see what is missing. I can’t wait to show you how it all comes together. I hope you have enjoyed this makeover half as much as I have! Let me know what you think, what is your favorite part so far?


It is just so adorable! Takes me back to childhood when I loved playing in my dollhouse. Lovely and creative work!!!!
me too, this dollhouse has seen some love in it’s days, so fun to bring it back to life
The kitties certainly makes your house a home! I can’t wait to see the completion.
Oops! 1 Kittie…we have 4.
we have FIVE cats now, we got adopted by feral kittens that I got fixed and then they turned sweet! only two come inside though!
aren’t they the cutest!
I have a dollhouse that my uncle made for us when we we’re small. It’s in desperate need of repair but I have 2 grand daughters, ages 3yrs. and 1, so I best get cracking! Thanks for the ideas.
yes – please update it for them, all of my nieces and nephews and my kids have loved this house over the years, they will cherish it always!
The cuteness and style is undeniable!!! Love ALL of this and your touches to jazz up the miniature pieces are so awesome (e.g., the chandelier with black pain!) The family photo is key. This is fantastic and I hope you win the challenge!!!
you are so sweet! finishing is the only prize in this challenge…but I have won already, this has been the sweetest blessing to makeover
Love your ideas!
Any ideas for a 1/24 scale room box chandelier – I haven’t been able to find any. Maybe even an 1/12 that can be ceiling mounted with chain so that it is shorter? I’m working with 8″ room height.
Thanks.
I am not sure about that – I use miniatures.com for almost all my product and you can sort their site by size, so if you haven’t tried that I would recommend trying that! Best of luck!